
Selenium Automated Tests integration with Jenkins
Overview
Continuous Integration(CI) helps the tech team to ensure whether a build is ready or not and if they can move into the next phase of the process. Automation Tests make it very simple and provide results quickly. Developing, testing, and releasing a build becomes the integral and cyclic process in any tech-driven organization and requires very robust and reliable tools for the purpose.
CI with automated tests is a Game Changer
Before we get into the explanation that how Jenkins supports the automation execution process, it’s inevitable to understand what do we mean by “Continous Integration”? As we move forward in developing a product, it is very important to grow confidence in the builds we are going to deploy on production and the most efficient way to do this is by writing automated tests, instead of depending upon the manual processes.
CI is a practice where developers regularly push their code into a shared repository. And to ensure that the integration is successful, there is a bunch of automated tests to verify the code integrity. Then, if there’s a problem, developers detect and fix it quickly.
Advantages of Using Jenkins
Lets get convinced that why jenkins is called a tool ‘By developers, for developers‘ –
- Jenkins can schedule tests to run each time developer pushes code into the repository or at a specific time without any human intervention.
- Jenkins can generate self-explanatory results of suites execute with trends and graphs.
- Jenkins shows the details of the test failures.
- Jenkins can automatically trigger the Test Results e-mails to team members along with detailed reports as attachments.
- Jenkins helps to analyze build logs.
- Jenkins helps to inject data into the code, which helps to determine the environment(Staging or Production) on which suites need to be executed.
Prerequisites to install Jenkins
- 256 MB of RAM
- 1 GB of drive space (although 10 GB is a recommended minimum if running Jenkins as a Docker container)
- Since Jenkins runs on Java, you need either the latest version of the Java Development Kit (JDK) or Java Runtime Environment (JRE).
Release Types
Long Term Support Release (LTS) – LTS releases are available every 12 weeks. They are stable and intended for end-users.
Weekly Releases – Non-LTS releases are made available every week by fixing bugs in their earlier version. These releases are intended for plugin developers.
Note – We will take the demo of the LTS release, although the process is the same for non-LTS releases too.
Download, Install & Configure Jenkins
- Got to https://www.jenkins.io/download/ and download Jenkins LTS installer for windows.
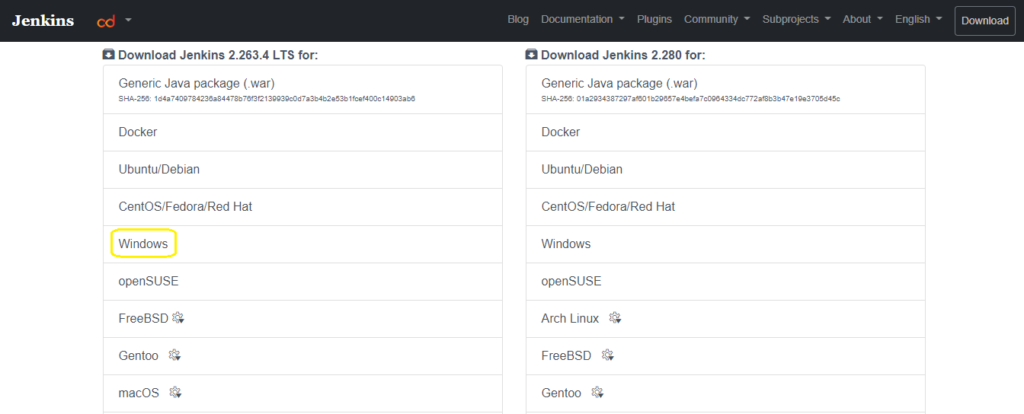
2. After clicking on windows, Jenkins installer named as ‘jenkins.msi‘ will be downloaded in “Downloads” folder by default like below –
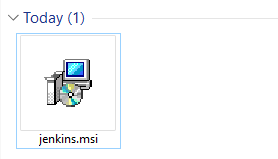
3. Double click on ‘jenkins.msi‘ and jenkins setup windows tab will be displayed –
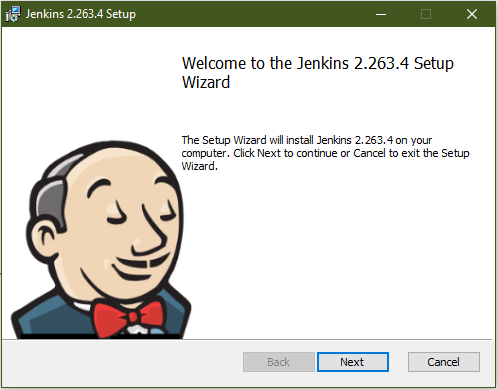
4. Select the path where you want to install Jenkins. (default location is C:\Program Files\Jenkins\), then click on the Next button –
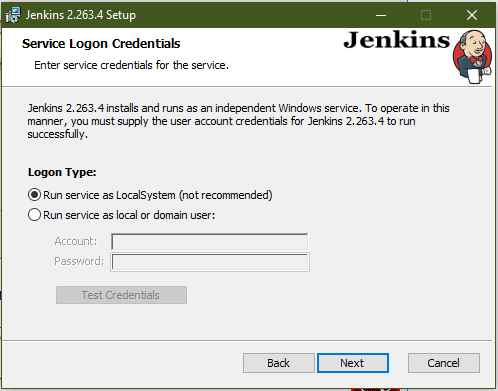
5. Select the Logon Type as ‘Run service as LocalSystem‘ and click the Next button
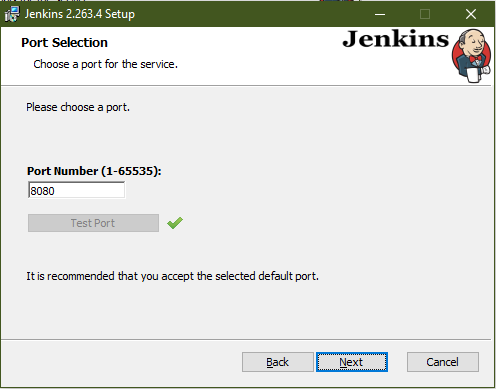
6. Insert Port Number as ‘8080‘ and click button test port. After port verification is successful, click the Next button –
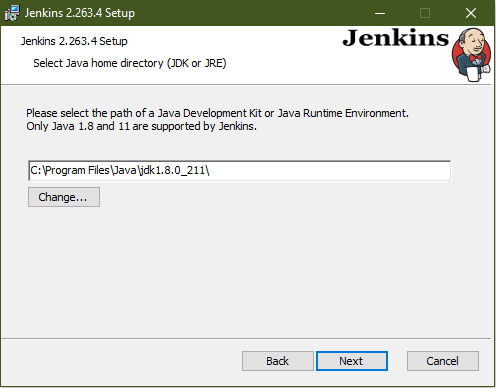
7. Select the path of JDK or JRE(default location is C:\Program Files\Java\jdk<version>\), then click on the Next button –
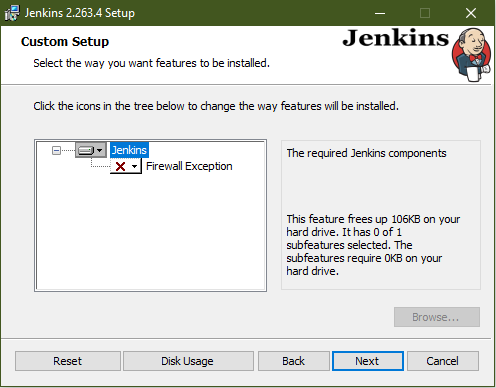
8. On Custom Setup screen, without changing anything click the Next button –
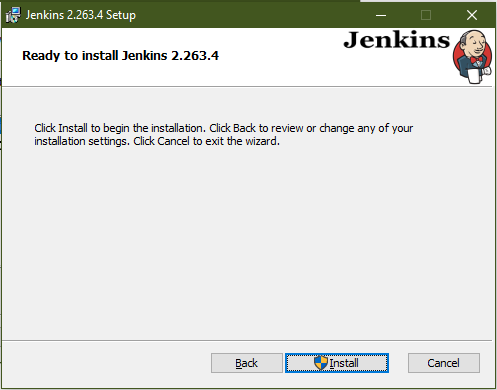
9. Now sit back and let the installer perform the setup process –

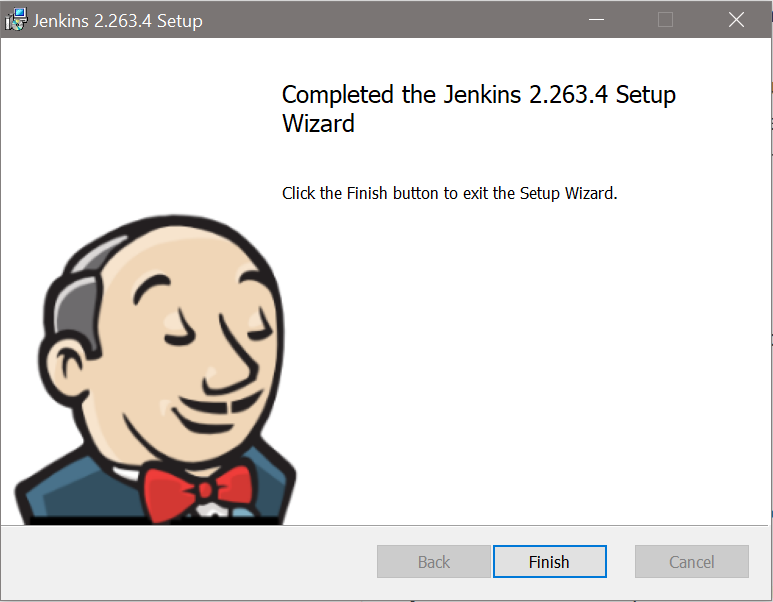
10. After setup is complete, click on the Finish button and you will be redirected to http://localhost:8080/login?from=%2F
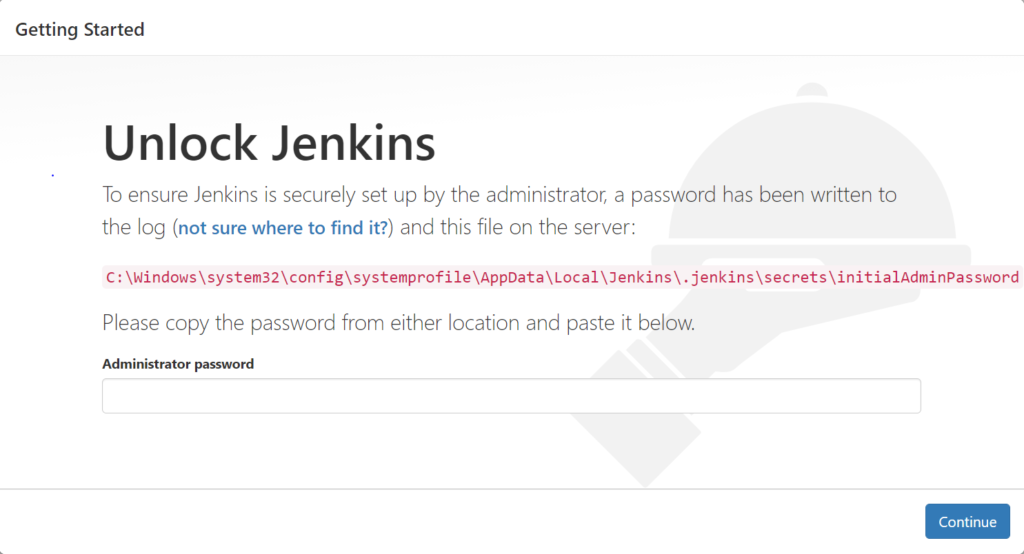
11. Copy and paste the password from the ‘C:\Windows system32\config\systemprofile\AppData\Local\Jenkins\.jenkins\secrets\initialAdminPassword‘ file for Jenkins unlocking. Click on the button “Continue.”
or
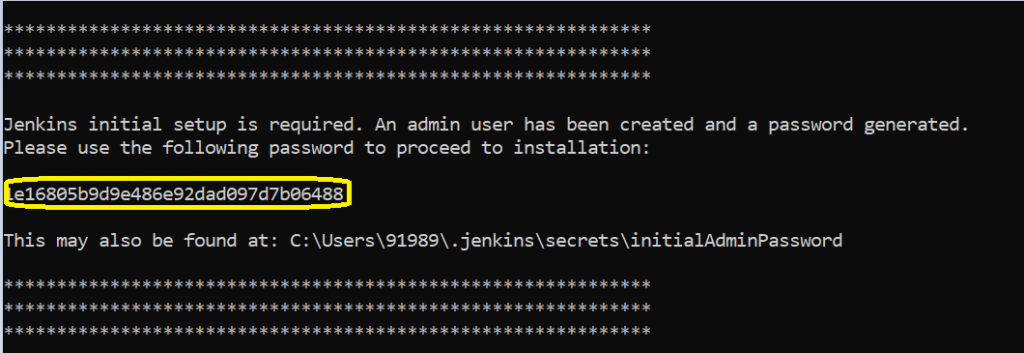
Using the command prompt, go to the path where ‘jenkins.war’ is located (C:\Program Files\Jenkins) and run the command ‘java -jar jenkins.war‘

After the completion of command execution, initialSetupPassword will be displayed as below –
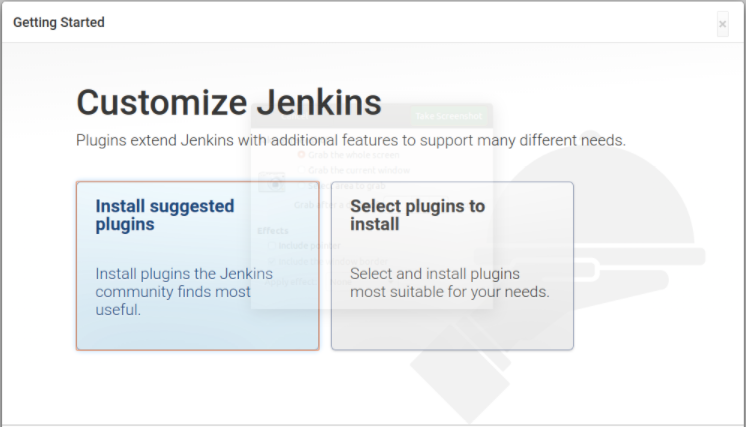
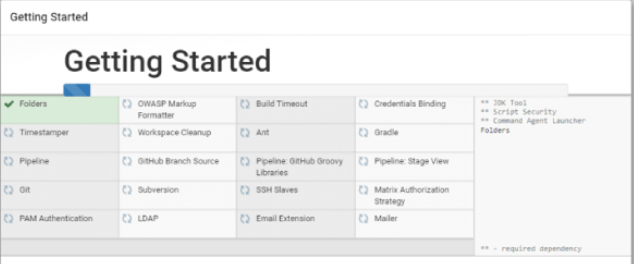
12. After initial setup password verification, Jenkins plugin installation window will display like below, choose ‘Install suggested plugins’ –
13. Jenkins will install default plugins required –
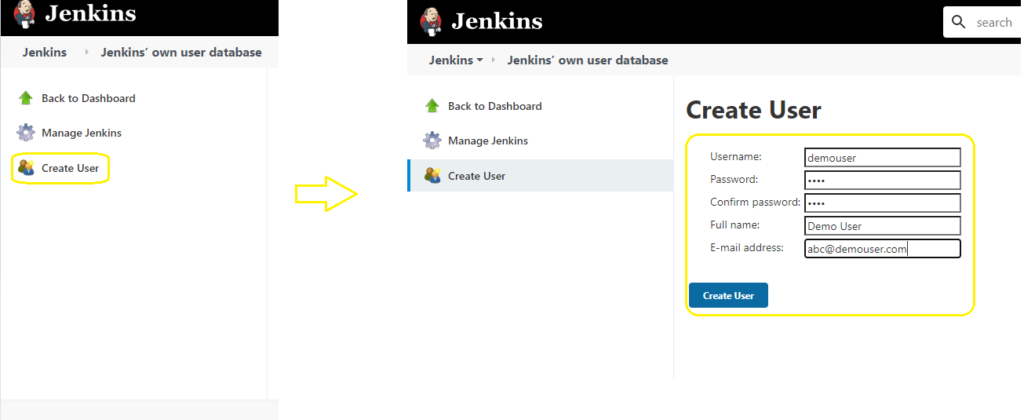
14. After installing plugins successfully, go to Manage Jenkins => Manage Users => Create User

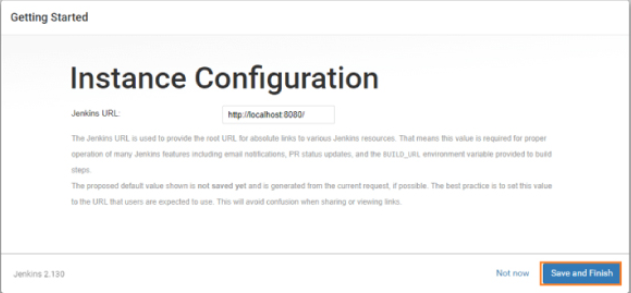
15. To finish the Jenkins setup, click on ‘Save and Finish‘
16, Now we are ready to create jobs in Jenkins –
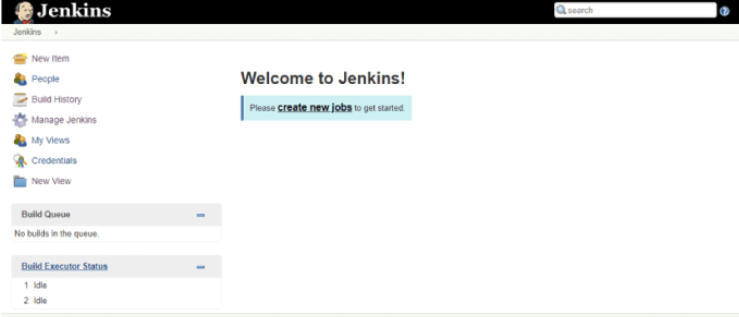
Setting up a Jenkins job –
- Click on create new jobs, enter job name, and select project as ‘Maven Project’
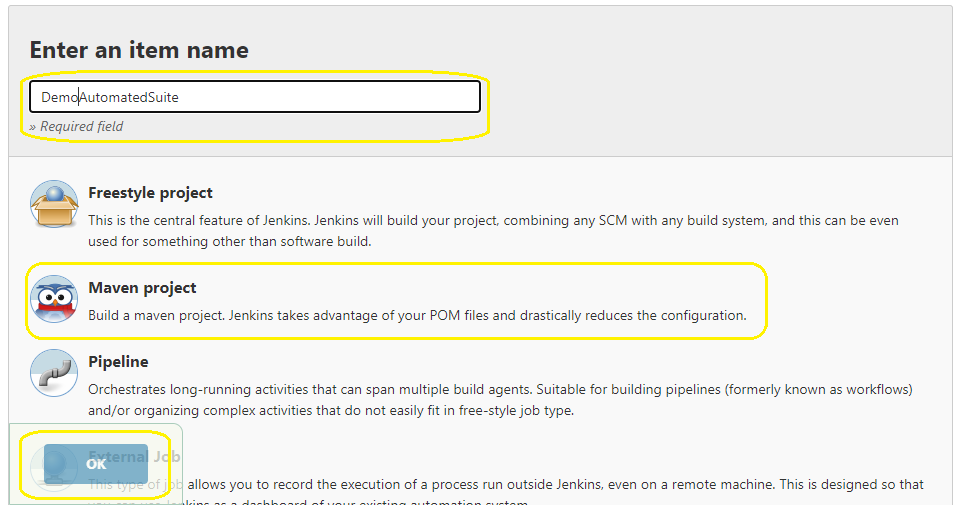
After clicking the OK button on the above screen, the user will be redirected to configure the build screen, refer to images below in sequence to set up a parameterized Jenkins job.
2. Configuring a Jenkins Job for executing automated Selenium Suites –
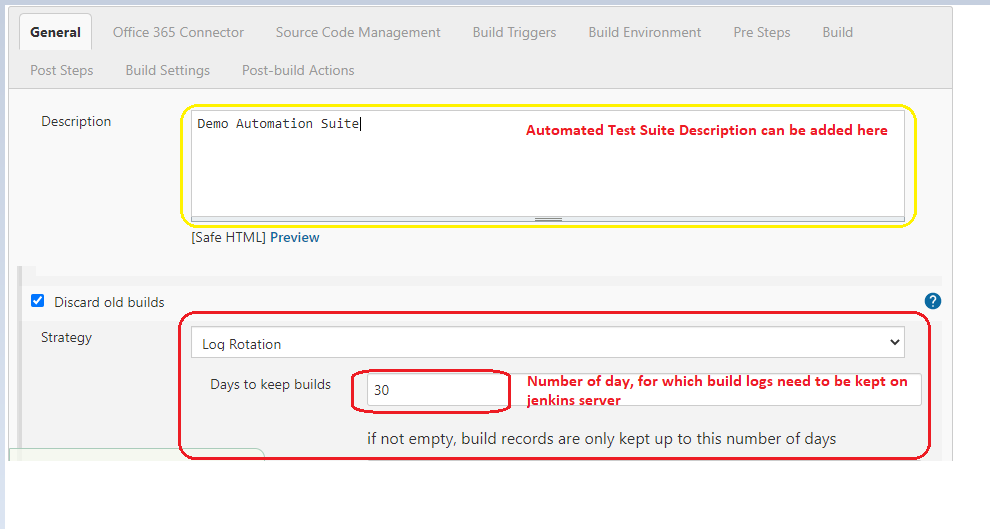
(a) Job Description and Log Rotation –
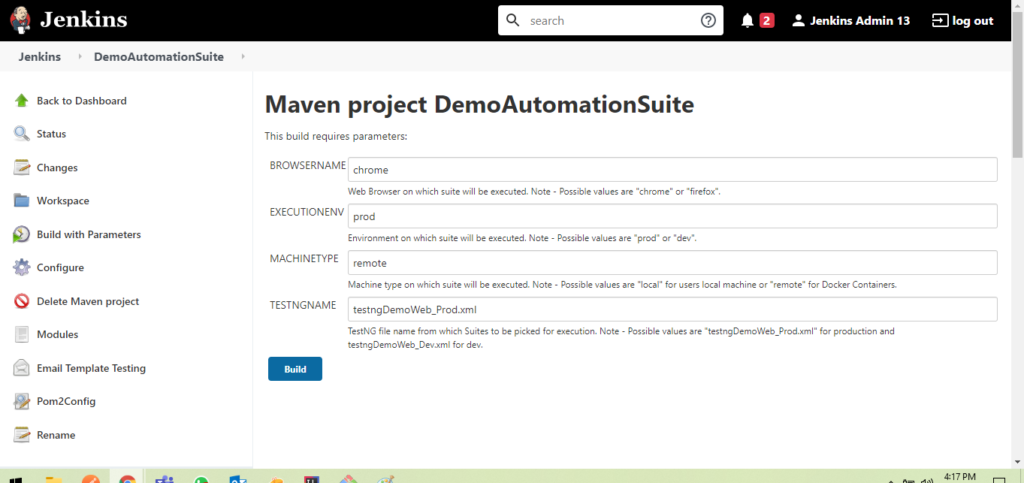
(b) Parameterizing a build –
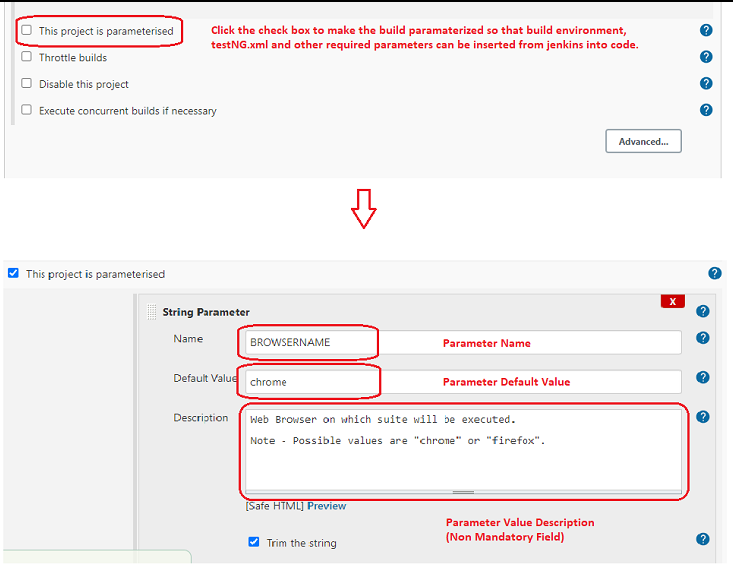
In the above image, a String Parameter is used with name ‘BROWSERNAME’ with default value as ‘chrome’ which ensures that by default this job will execute automated suite on Chrome browser, by injecting this parameter value in code below using the maven clean test command –

Complete Maven Clean Command with parameters –
clean test -Dsurefire.suiteXmlFile=$TESTNGNAME -DbrowserName=$BROWSERNAMESurefire Plugin(below code snippet) to be added in pom.xml to map –Dsurefire.suiteXmlFile=$TESTNGNAME from above clean test maven command.
<plugin>
   <groupId>org.apache.maven.plugins</groupId>
   <artifactId>maven-surefire-plugin</artifactId>
   <version>2.19.1</version>
   <configuration>
      <testFailureIgnore>true</testFailureIgnore>
      <suiteXmlFiles>
         <suiteXmlFile>${suiteXmlFile}</suiteXmlFile>
      </suiteXmlFiles>
   </configuration>
</plugin>
Code Snippet to use parameter (browserName) injected by jenkins job in Java class using System.getProperty() method.
public void selectBrowser() throws MalformedURLException {
WebDriver driver;
String browser = System.getProperty("browserName");
if (browser.equalsIgnoreCase("chrome")) {
ChromeOptions chromeOptions = new ChromeOptions();
System.setProperty("webdriver.chrome.driver",
System.getProperty("user.dir") + "/drivers/windows/chromedriver.exe");
chromeOptions.addArguments("--start-maximized");
driver = new ChromeDriver(chromeOptions);
} else if (browser.equalsIgnoreCase("firefox")) {
FirefoxOptions firefoxOptions = new FirefoxOptions();
System.setProperty("webdriver.gecko.driver",
System.getProperty("user.dir") + "/drivers/windows/chromedriver.exe");
firefoxOptions.addArguments("--start-maximized");
driver = new FirefoxDriver(firefoxOptions);
} else if (browser.equalsIgnoreCase("chromeMobileEmulation")) {
Map<String, String> mobileEmulation = new HashMap<String, String>();
mobileEmulation.put("deviceName", "Pixel 2");
ChromeOptions chromeOptions = new ChromeOptions();
System.setProperty("webdriver.chrome.driver",
System.getProperty("user.dir") + "/drivers/windows/chromedriver.exe");
chromeOptions.addArguments("--start-maximized");
chromeOptions.setExperimentalOption("mobileEmulation", mobileEmulation);
driver = new ChromeDriver(chromeOptions);
}
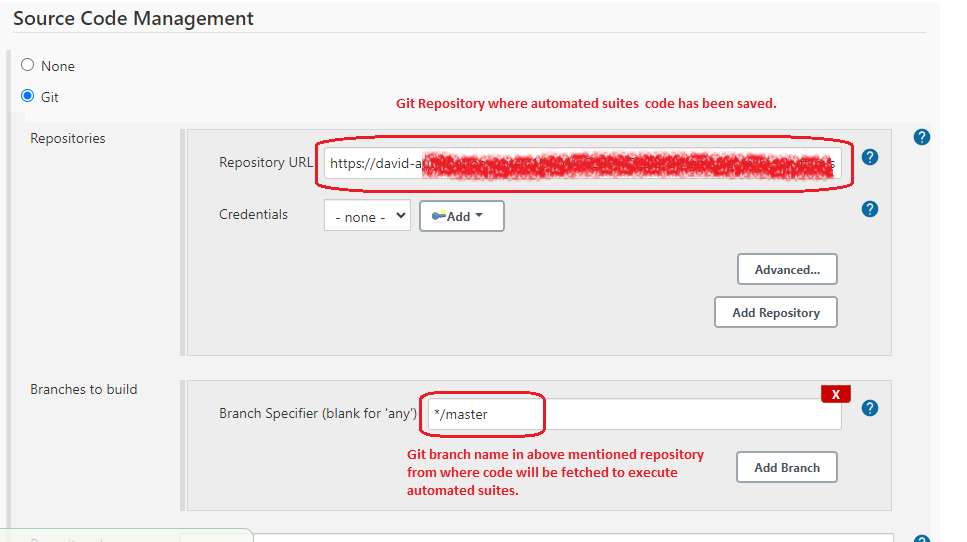
}(c) Source Code Management Plugin (GIT) –
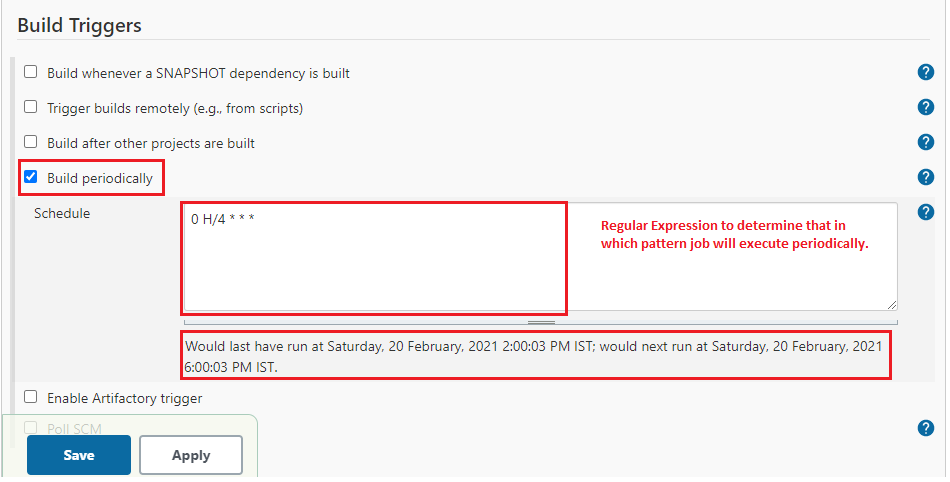
(d) Trigger build periodically without human intervention using Regex –
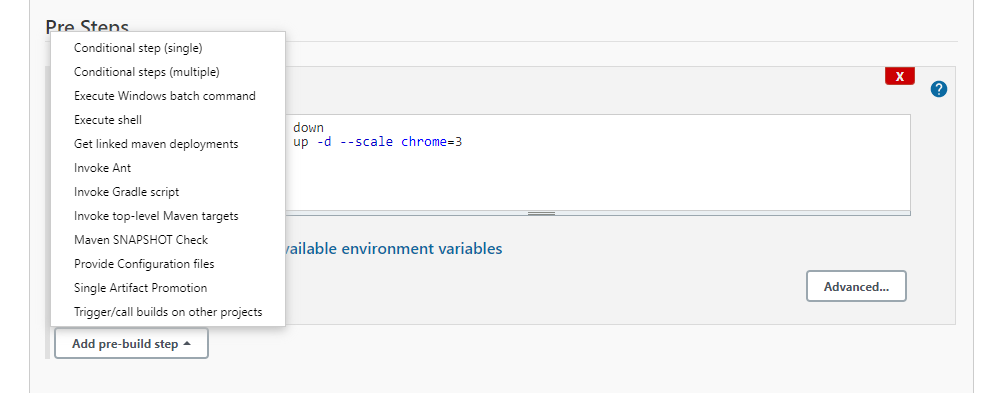
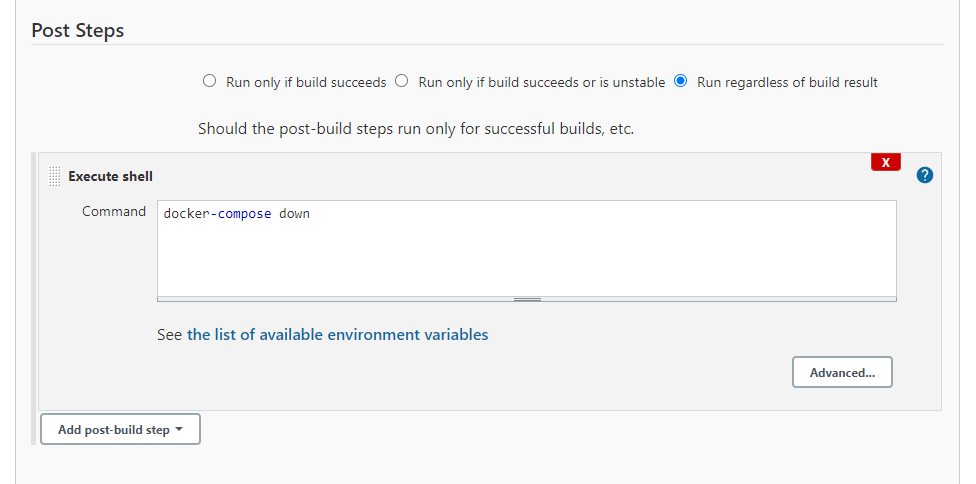
(e) Jenkins provides a variety of operation which can be done before and after trigger a build as stated in below images –
For Pre Build Operations –
For Post Build operations –
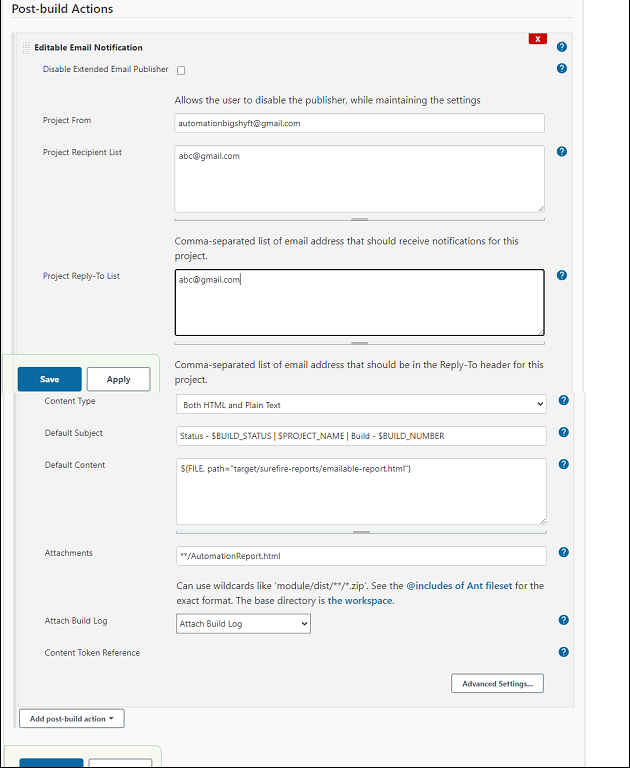
(f) Email Notifications Setup using Editable Email Notification Plugin –
Click on Save and Apply button, and our job ready to execute.
3. Executing a Jenkins Job
(a) Click on Build with Parameters to execute a parameterized Jenkins job –
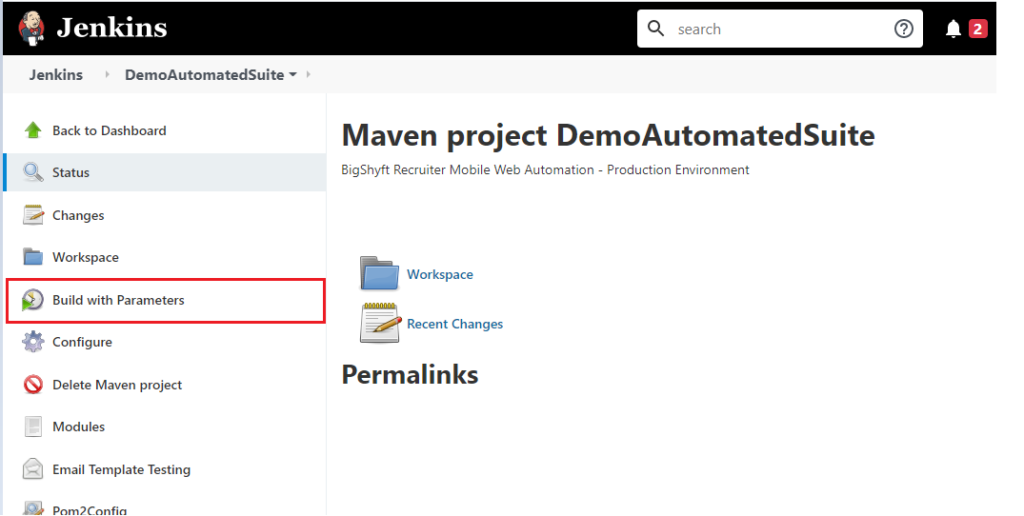
(b) User can change default values of parameters mentioned in the job and then trigger the build –
(c) Post trigger the build logs and progress can be viewed in Console Output Screen –
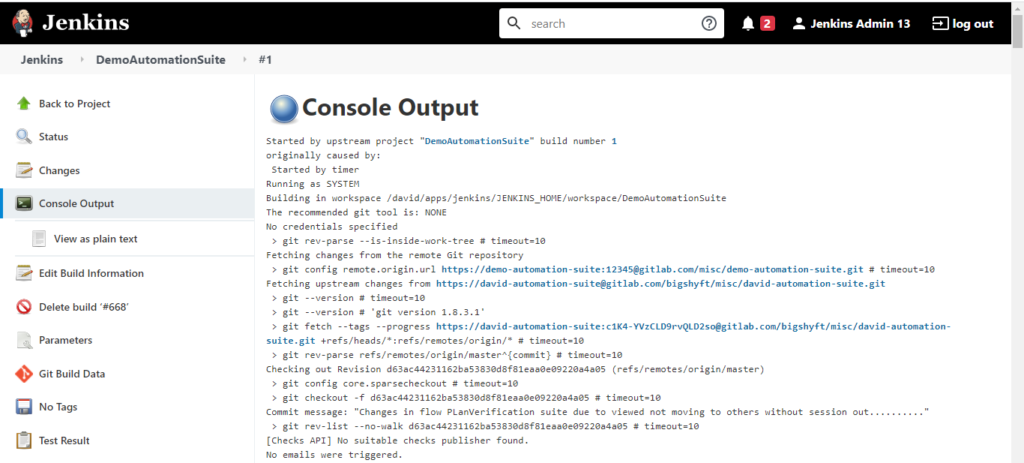
(d) Post completion of the build, the status of the build can be viewed in Console Output Screen –

Let’s Conclude
we have covered why Jenkins is so important and how it can be integrated with Selenium WebDriver to run automated test suites efficiently in a continuous integration environment. Using Jenkins is time effective and less prone to errors in comparison with the manual process, results can be monitored effectively with reach to a larger audience. It helps fulfill the complete software development life cycle starting from development, deployment, testing, monitoring, and releasing.
It also supports various plugin –
- Jenkins can be integrated with Slack, Teams, Skype, etc. for communicating build statuses and results.
- Can do code coverage monitoring using the JACOCO plugin.
- Duplicate and redundant code can be eliminated using various plugins.
- Various reporting and email plugins can be used for communication.
- Various SCM tools like GIT etc. can be integrated efficiently.
- The surefire plugin can be integrated.
There are other numerious plugins which jenkins offers to achieve various requirements.
Will keep you guys updated about various Jenkins plugins in upcoming blogs.
Happy Testing!
About The Author
Akash Agrawal
Akash Agrawal has 6.5 years of experience in Software Testing and is currently working as Lead Test Analyst at BigShyft - Info Edge India Ltd. He has experience in automating web and mobile-based applications using Selenium, and Appium.